Dec 31, 2013

Talk on Chikankari Stitches


              Let me talk little about chikankari embroidery stitches. In my previous post ,shared little bit information about Applique work in chikankari. In this post i shall discuss few stitches in chikankari.


Chikankari Embroidery

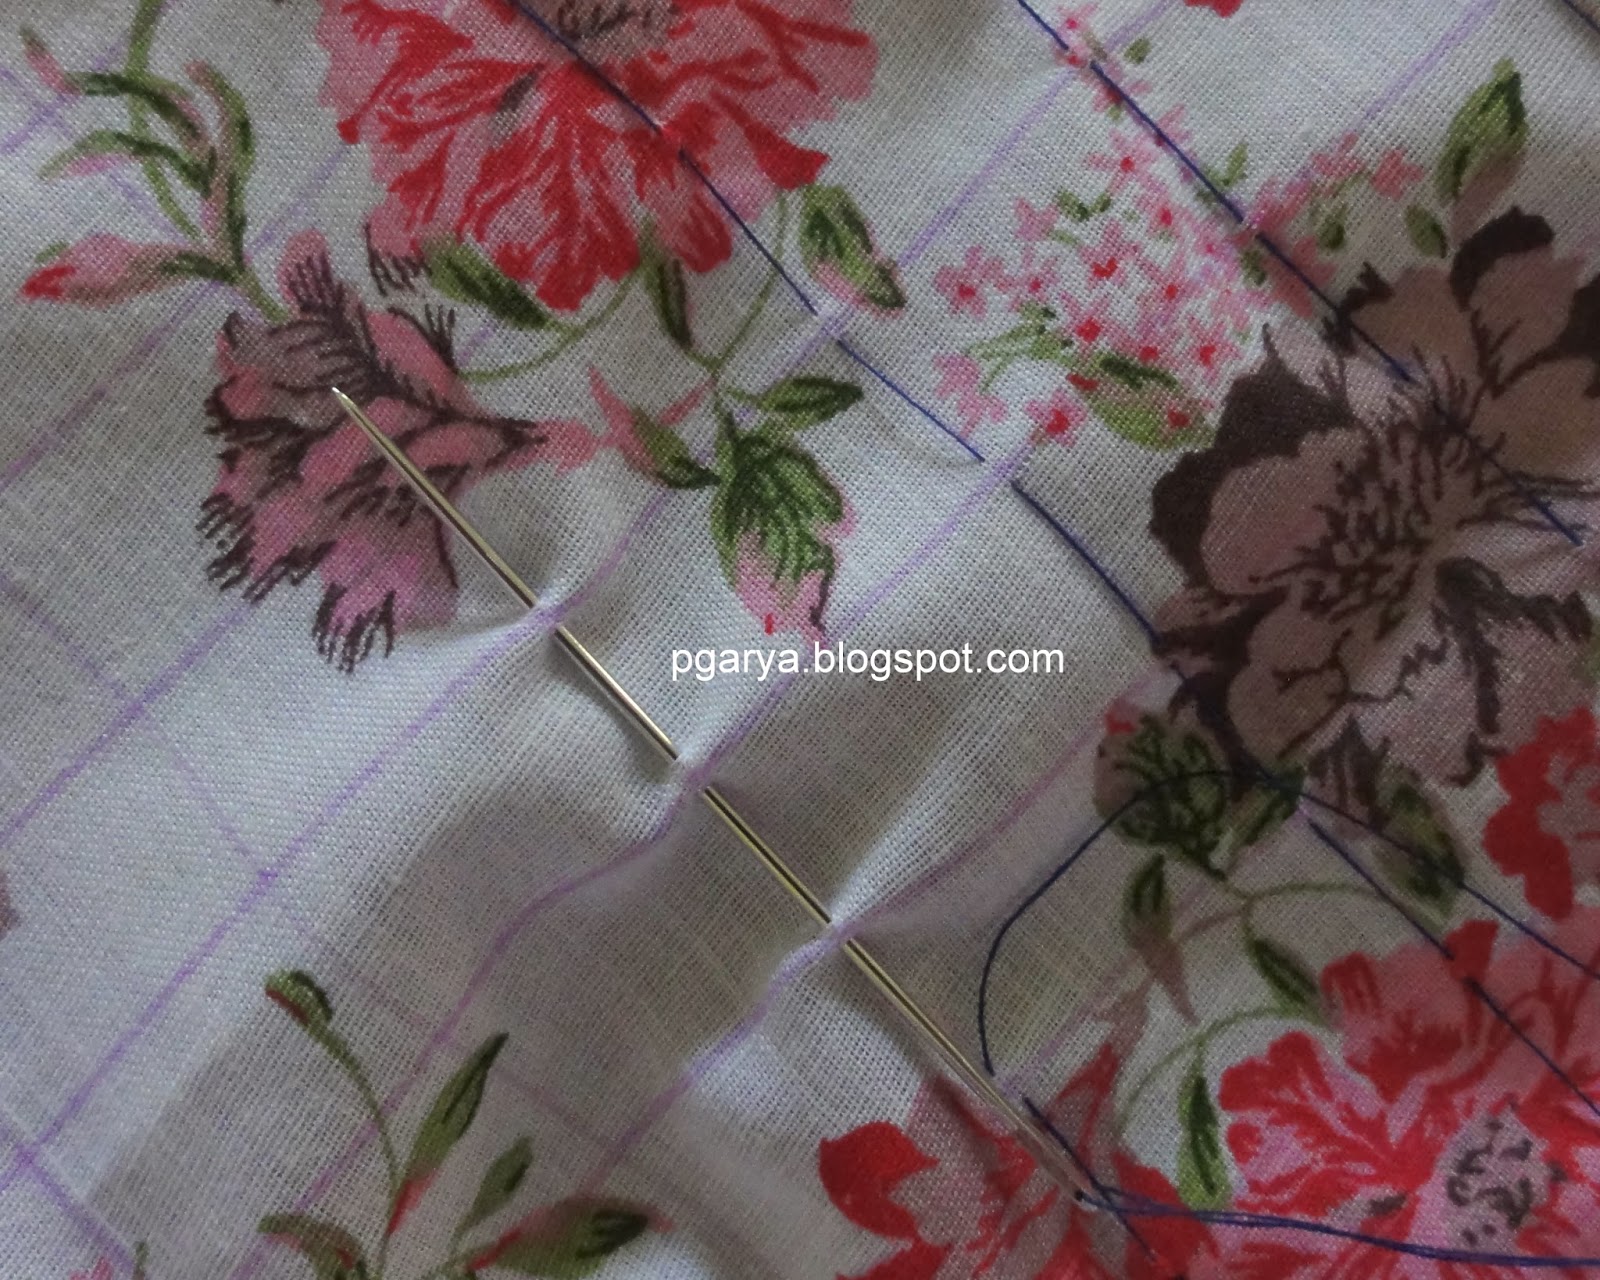
                     Chikankari embroidery stitches, it is combination of basic stitches and few stitches unique in itself and exclusively used in chikankari embroidery. In chikankari, one has to play with number of strands. Beauty of a stitch depends on, selecting number of strands to work a stitch and if proper number of strands correctly accessed for each stitch, then even a simple stitch looks different.

Chikankari Embroidery

              In this project, stitches that i worked are Rahet, Tepchi, Phanda, Keel, Balda, Ghass patti ,Bhakya, Rozan, Janjira . I know these names sounds different, Its lucknowi Mughal terms of describing stitch names in chikankari. So let me break it down to simpler version, in the form of  basic simple stitch language.


Stitches Used in Chikankari 


                   Above picture describes which stitch used exactly where. Let me start with center main stem, the main stem is worked with " Balda " stitch. Observe below picture.


Working Instruction of Balda stitch


                        " Balda " stitch is nothing but couched running stitch. First work running stitch and then couch over running stitch as shown in above picture. Here for running stitch 6 strands and for couching 2 strands of thread are used.


Chikankari Embroidery

                  For rest of branches, " Rahet " stitch is worked. " Rahet " is stem stitch and i worked Rahet with 2 strands of thread.


Phanda, Bakhya, Janjira stitches

                 
                  Observe above picture, the petals in flower is worked with " Bakhya " stitch and 3 strands of thread is used. " Bakhya " is Herringbone stitch or double back stitch. Here herringbone stitch is worked in reverse manner where only back stitch is visible in front and actual crossing is at back side as shown in below picture.


Herringbone stitch


                        To highlight this flower, " Janjira " stitch is worked with single strand of thread around the petals. " Janjira " is chain stitch. In chikankari, Janjira is mainly used to highlight a motif and some prefer to work janjira stitch with tambour needle. Center of flower is worked with " Rozan ". " Rozan " is eyelet stitch worked with 2 strands of thread. First running stitch is worked around circle and later running stitch is couched by making hole in center.


Phanda stitch
                      
                     Observe above picture, " Phanda " stitch is worked to form small leaves. " Phanda " stitch is detached chain. Phanda stitch is worked with 3 or 4 strands of thread and work detached chain for 3 times one upon the other to get embossed effect.


Tepchi, Balda, Bakhya stitches

                    Observe above picture, leaf like motif is worked with Bakhya stitch in center and outlined with Balda stitch. Outside tiny leaf attached to main big leaf is worked with " Tepchi ". " Tepchi " is running stitch and worked with 2 strands of thread.


Ghass patti, Keel, Bakhya stitches


                         In above picture, center of flower is worked with " Keel " stitch using 6 strands of thread. Center of  " Keel " stitch is worked with phanda and around phanda, Roman stitch is worked. Below picture shows working of roman stitch. Start at point 1 ie come out at point 1 and go back at point 2, then come out point 3 and end at point 4.


Roman stitch
                   
                           
                              Around keel , bakhya stitch is worked. And for petals " Ghass patti " stitch is worked. " Ghass Patti " is fishbone stitch worked with 6 strands of thread. Working of fishbone stitch is shown below.


Fishbone stitch


                     In below picture, two leaves are worked with Bakhya stitch and highlighted with Janjira stitch.


Bakhya, Janjira stitches
               
                                    Simple stitches worked with proper number of strands and appropriate stitches for each design makes any motif look good. Chikankari embroidery is usually done on white fabric and white thread or on pastel shades fabric and its matching thread. But while working with colored threads and using same number of strands as mentioned above, sometimes it looks odd. So one has to be very careful while working with colored threads. Try to vary number of strands while working with colored threads, bit of trial and error is required to know how many strands of thread is required to work with colored threads.


Chikankari Embroidery

                 Hope you all enjoyed this post on chikankari stitches. To all my embroidery friends wishing you all " Happy New Year ". Keep stitching !!!!!

Dec 22, 2013

Smocked Frock


                  Well, this is my very first smocked frock. To block smocked fabric accurately is bit difficult and tricky for beginner like me.


Smocked Frock


                      For waistline belt, i smocked crossover wave stitch, half wave stitch, cable stitch and alternating cable stitch.
                       

Waistline
 
                    For waistline belt i also used pyramid cable stitch. For whole body part , smocking is done using six step Trellis stitch. Trellis stitch is worked in diamond pattern and also crossover technique is used with two different colors red and green.   
                           
Smocked fabric before removing pleating thread
                                      
Smocked Frock

Dec 11, 2013

Kutch Work Pyramid

   One more kutch work tutorial, i call this design as " Pyramid ".  This one is done using Herringbone stitch.


Pyramid Kutch work


                   Transfer the design on fabric. You can get design here. Adjust design size according to your requirement.


Pyramid Kutch design

                     Following below instruction chart, start with base stitch at point 1. Here in pyramid design both base stitch and filling stitch is worked in 2 parts. Areas highlighted with green and pink color comes under part 2 of base and filling stitch. Numbering and lines shows path to be followed and orange arrow mark shows intersection of two lines where needle should pass under the thread.

Pyramid kutch instruction chart

                Commence at point 1 as shown in below picture.

Pyramid kutch base stitch

               Follow below two collages, try to complete base stitch.


1 Pyramid kutch base stitch

2 Pyramid kutch base stitch 
                       
                       Part 1 base stitch is worked with light brown color thread and part 2 base stitch is worked with dark brown color thread.

                      In above collage, last four pictures shows part 2 base stitch, observe carefully and work. Starts at point 'a' and ends at 'h'. Work in same manner with rest of left part of base stitch design.


Pyramid kutch base stitch

Finished base stitch, Pyramid kutch

                  Once done with base stitch, lets start with filling part of pyramid design.


Filling of pyramid kutch
                   
                     Start at point 1 as shown in above picture. Follow below three collage and complete filling part of pyramid design.


1 Filling of pyramid kutch
2 Filling of pyramid kutch


                            Observe in below collage, from third picture, Part 2 of filling stitch instruction is shown.
Observe below pictures and complete with part 2 filling of pyramid design.


3 Filling of pyramid kutch

Pyramid Kutch Work
             

                         Application of this design, as you can see its obvious to be used as borders, or work single pyramid as motifs. Or work two pyramids, its base facing each other, giving effect of diamond. Or work two pyramids, top of pyramid facing each other creating a new design. Hope you all enjoyed this tutorial, if so drop a line and share your opinion. 

Dec 7, 2013

Kutch work / Interlaced Herringbone 2


Kutch work / Interlaced Herringbone , we learnt base stitch. Lets start with filling part in this post.

           
Kutch work, filling stitch

                         Start at point 1 ( a little bit right side) as shown in above picture. Follow below three collage and complete with filling part.


1. Filling stitch

                      
2. Filling stitch

3. Filling stitch

Finishing of filling stitch

                 While ending filling stitch, end exactly at starting point where we started.


Kutch work / Interlaced Herringbone

                  
                         Since this design is quite big one, it can be worked on bedspreads, cushion sets, saree etc. So in this method i use six strands of threads, both for base stitch and filling part.

Tip:  while using six strands of threads, separate each strand and then re-Aline together and work. This gives fullness or filled look to the design.

While taking printout of this design , it should fit in A4 size paper length wise / vertically Or according your project wise adjust size of design. 

Some work, start this design from left hand side, as we did in this tutorial ( both base stitch and filling ) and some prefer to work from right hand side. Its believed that working from right hand side is easier. Try your style.  Well i prefer working from left hand side. Happy stitching !!!!!!

Dec 6, 2013

Kutch work / Interlaced Herringbone

                       In my earlier post, i talked about kutch work using herringbone stitch as base stitch. Well today lets learn this method of kutch work.


Kutch work using Herringbone stitch


                     First trace design on fabric as shown in below picture. Download PDF of this design.


Kutch work design


                   Now start at point 1. Follow instruction chart (PDF design), Numbering and lines suggest the path to be followed and arrow mark (orange colour) shows intersection of two threads where needle should pass under thread. Always know golden rule of kutch work .


Kutch work

                        Follow instruction chart and below collage to complete base stitch


Kutch work 1


Kutch work 2


                     Note : Below collage, first picture, observe last three diamonds, the middle diamond, please rectify this mistake while working, here i have passed needle under thread where as its left and right diamond is correctly done.!!!!!!!!!!

Kutch work 3


Kutch work 4

kutch work 5


Complete base stitch

                 Click on the image for better view, closely observe "complete base stitch" picture and check correctness of base stitch by applying golden rule of kutch work.


                           If you observe backside of fabric, pattern is exactly like the design we traced in front of fabric. This shows the correctness of worked base stitch using herringbone stitch.


Backside of Fabric

                 For filling stitch tutorial check part 2 of kutch work / Interlaced herringbone.

Nov 24, 2013

Hand Pleating Technique to Smock

           
                     Smocking is a form of surface embroidery worked around pleated fabric. Uniformity of  the gathering (pleats) is most important. Ways to form uniform and evenly spaced pleats are dot transfer method, gathering pleats on dotted swiss fabric, gathering the pleats on striped fabric, gathering pleats on gingham fabric. While using checked (gingham) or striped materials, dots are not necessary as the pattern can be used as a guide for the gathering . In case of stripes, horizontal lines have to be ruled on the back of the material in order to keep the rows straight.


Stripe Fabric

Working example with stripe fabric

Working example with Swiss dot fabric

Swiss Dot fabric

Gingham ( checked ) fabric

Working example with Gingham fabric

       Dot Transfer Method Pleating Instruction:


                All smocking dots should be transferred to the wrong side of the fabric.


Instead of dots , its boxed 

Working example with boxed 


                        Pick few threads of  fabric at intersection of two ( vertical and horizontal) lines as shown in above picture.


Pleating with Dot transfer method

                  While working with dot method, work a thread along each row of dots on the wrong side of fabric picking small amount of  fabric at each dot (as shown in above picture). Start with a knot or a back stitch and use a separate thread for each row, leaving generous length of  thread hanging at the end


Pleating example


                     Once all rows are picked, gently pull hanging threads to form uniform pleats. The gathering threads not only holds pleats together but also provides guidelines (straight line guideline)  while working smocking stitches.


Pleated fabric

                  Knotting gathering threads is important, knot two threads as shown in below picture.

Knotting example of  pleated  threads

              Dot transfer tips: While arranging dots,if  the width of columns is 1 cm then the length of rows to be 1.2 cm. This gives more clarity to smocked stitches than the square ones.


Dot transfer instruction

                Material Calculation:


                        The amount of fabric required varies from fabric to fabric, fine fabric like silks takes more material than the thick cotton fabric and also every individual  work with different tension, some will pull stitches more tightly than others. Average is to take at least three times the amount of required material. The stitches used to smock  make a difference too, as some are more elastic than others.


                         So before starting with a project , test sample is important. To pleat a test sample, cut a sample fabric of 8 cm * 40 cm wide. Pleat this sample and tie off  hanging threads with pleats almost touching each other. Now measure the width of pleated sample. For example, if it measures 10 cm, then divide the original width with finished width ie 40/10=4. So by this its gives a ratio of 1:4. So to determine the required amount of fabric, multiply the required width with 4, for example, if required finished width is 40 cm, then multiply 40*4=160, so fabric width should be 160 cm . Keep extra 10 cm ie 5 cm on either side. 

Popular Post